Our Location
304 North Cardinal St.
Dorchester Center, MA 02124
Master the installation process of composite decking boards with these step-by-step instructions and expert tips.

Composite decking offers the appeal of natural wood without the regular maintenance, making it an excellent choice for homeowners looking to enhance their outdoor spaces. Its durability against weather elements, resistance to rot, and available design flexibility make it a popular choice. In this guide, we will walk you through a comprehensive step-by-step process to install composite decking boards professionally.
Composite decking is composed of a blend of wood fibers and recycled plastic materials, providing a sustainable and visually appealing surface for patios and outdoor areas. Unlike traditional wooden decks, composite materials do not splinter, warp, or require yearly staining. However, to ensure a successful installation, following the correct steps is essential to avoid costly mistakes later on.
Before starting your installation, gather all the necessary tools and materials. Here is a list you will need:
Start by measuring the area where you plan to install the decking. Create a detailed plan, including the layout of your composite decking. Remember to leave space for expansion. Most manufacturers recommend allowing a gap of 1/8 inch between boards and a larger gap (up to 1/4 inch) for boards in shaded areas to prevent buckling.
Before setting up the decking boards, inspect your existing structure. Ensure that the support posts, joists, and beams are in good condition, with no rot or damage. Clean the area and, if necessary, replace any failing structural components.
If your deck is attached to an existing structure, install a ledger board. This board will support one side of your composite decking. Use the level to ensure it sits straight and fasten it securely with lag screws. Make sure to leave an appropriate gap below for drainage.
Space the joists about 16 inches apart for proper support. Use a level to ensure they are straight and flush with each other. Secure them in place using joist hangers where necessary, ensuring the overall structure can support the weight of the decking and any additional furniture.
If desired, install a weed barrier fabric on the ground beneath the deck to prevent the growth of weeds. This not only creates a cleaner look but also helps in reducing maintenance.
Measure the first board and mark where you need to cut. Use a circular saw with a fine-tooth blade to make cuts. Always wear safety goggles while cutting. Make sure to follow the manufacturer’s instructions regarding board lengths and expansion gaps.
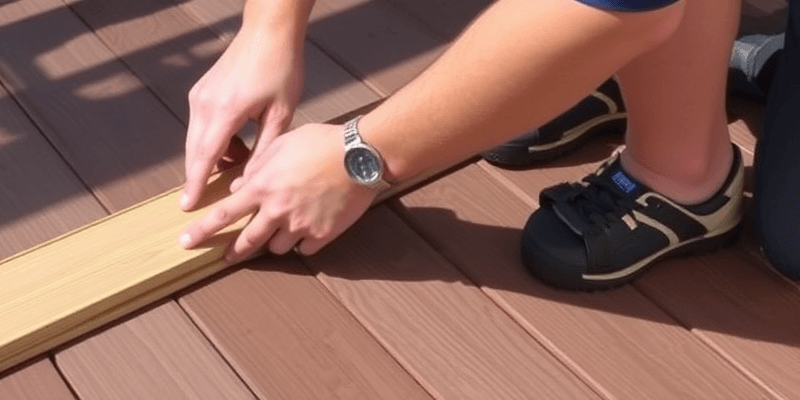
Begin laying down your composite decking boards from one edge of the deck, making sure the grooved edges face towards the joists. Place the boards carefully, ensuring they lie flat and are evenly spaced. Use deck fasteners or screws to secure them at each joist. If your boards are not grooved, make sure to pre-drill holes and use approved composite deck screws.
As you install each board, continuously check for level and alignment. Adjust if necessary by tapping the boards lightly or shimming as required. Ascertain that all edges are flush and smooth along the entire deck surface.
Once all the boards are fastened and secured, focus on trimming the edges. Use a composite cap to cover the raw edges for a polished appearance. They are typically easy to install and enhance the visual appeal of your decking.
After the installation, thoroughly inspect the entire deck for any loose screws, gaps, or misalignment. Ensure water can drain properly and check for any potential hazards, like sharp edges or loose fasteners.
Installing composite decking boards can be a rewarding DIY project that significantly enhances your outdoor space. By following these steps and paying attention to detail, you can create a beautiful, functional deck that stands the test of time. The right preparation, tools, and materials make all the difference in achieving professional-quality results.