Our Location
304 North Cardinal St.
Dorchester Center, MA 02124
304 North Cardinal St.
Dorchester Center, MA 02124

Learn the essential steps and tips for installing wood plastic composite wall cladding, ensuring a beautiful and durable finish.
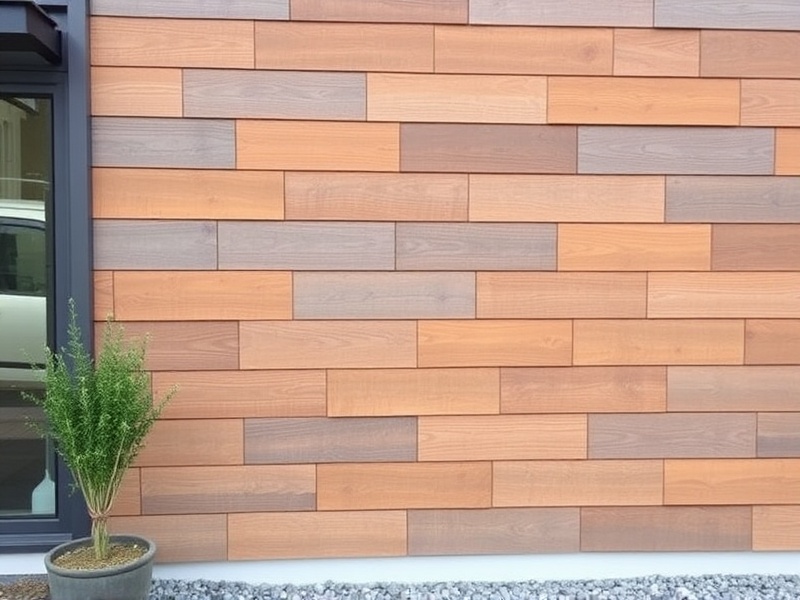
WPC (Wood Plastic Composite) wall cladding is a popular choice for both interior and exterior applications due to its durability, low maintenance, and aesthetic appeal. This article delves into the comprehensive process of installing WPC wall cladding, from material selection to the final securing of the panels.
The first step in any successful WPC wall cladding installation is choosing the right materials. Select high-quality WPC panels that are resistant to moisture, UV rays, and pests. The thickness and texture of the panels can vary based on your project’s requirements and design preferences. It’s essential to consult with a supplier or manufacturer to ensure you select the appropriate grade and type of WPC panels that will meet your specific needs. For instance, thicker panels may be more suitable for exterior walls, while thinner ones might suffice for interior applications.
Before installing WPC panels, it is crucial to prepare the wall surface properly. Ensure the wall is clean, dry, and free from any debris or loose paint. If the wall is uneven, apply a layer of leveling compound to create a smooth surface. Sand down any rough spots and wipe the surface clean with a damp cloth to remove dust. This preparation step ensures better adhesion and a smoother finish for your WPC wall cladding.
To achieve a professional-looking installation, precise measurements and markings are key. Use a level and tape measure to mark guidelines on the wall at regular intervals, ensuring they are perfectly horizontal. Start by marking the center point of the wall and work outward, marking where each panel will be placed. This method helps in aligning the panels evenly and avoiding misalignments during installation. For detailed instructions, refer to the manufacturer’s guidelines or consult with a professional installer.
Cutting the WPC panels to size is a critical step that requires precision and care. Use a fine-toothed saw to cut the panels according to your marked measurements. Ensure the cuts are straight and clean to avoid any rough edges that could affect the appearance or fit of the panels. When cutting around corners or intricate shapes, take extra time to make accurate cuts. Always wear protective gear such as goggles and gloves when operating power tools.
The final step involves securely attaching the WPC panels to the prepared wall surface. Begin by applying an adhesive sealant along the back of the panel before securing it with screws or nails. Space these fasteners appropriately to prevent warping or buckling of the panels over time. Typically, screws should be spaced about 16 inches apart horizontally and vertically. Be cautious not to overtighten the screws, as this can cause damage to the composite material. After all panels are installed, inspect the entire surface for any gaps or uneven areas and make necessary adjustments.
Building with FSC Certified Wood: A Guide to Sustainable Building Practices
Understanding Wood Plastic Composites: Properties and Applications
