Our Location
304 North Cardinal St.
Dorchester Center, MA 02124
304 North Cardinal St.
Dorchester Center, MA 02124

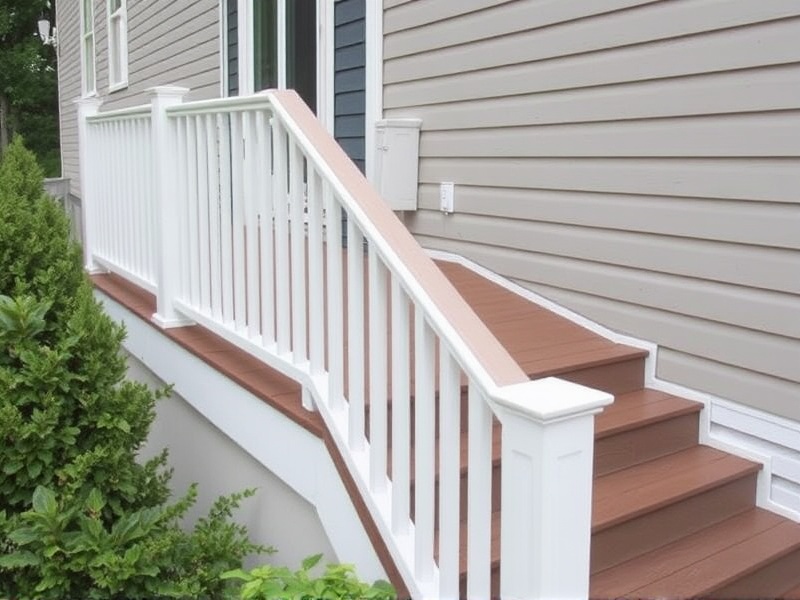
Trex Transcend Handrail is a popular choice among homeowners for its durability and aesthetic appeal. This guide will walk you through the entire installation process, from gathering the necessary tools to achieving a professional finish. Whether you are a DIY enthusiast or a seasoned contractor, this article provides comprehensive instructions to help you install your Trex Transcend Handrail with confidence.
To install your Trex Transcend Handrail, you’ll need the following tools and materials:
Before starting your installation, prioritize safety. Wear gloves and safety glasses to protect yourself from potential hazards. Ensure that all tools are in good working condition. If you’re working at height, use a sturdy ladder and have someone assist you. Familiarize yourself with the manufacturer’s guidelines to avoid any potential risks.
Step 1: Preparation
Begin by measuring the area where the handrail will be installed. Use a level and square to mark the spots for mounting brackets. Ensure the surface is clean and free from debris.
Step 2: Marking and Drilling
Using the marks made earlier, drill pilot holes for the screws. This step is crucial as it prevents splitting the wood or composite material. Make sure the holes are appropriately spaced according to the manufacturer’s recommendations.
Step 3: Mounting the Handrail
Align the handrail with the mounting brackets and secure it using the provided screws. Tighten the screws gradually to avoid stripping the holes. Double-check that the handrail is level and properly aligned before finalizing the installation.
To achieve a professional look, consider these additional tips:
Installing a Trex Transcend Handrail can be a straightforward process when you follow the steps outlined above. By preparing thoroughly, taking safety precautions, and paying attention to detail, you can achieve a professional-looking result. Remember, proper maintenance will ensure your handrail remains a beautiful addition to your deck for years to come.
