Our Location
304 North Cardinal St.
Dorchester Center, MA 02124

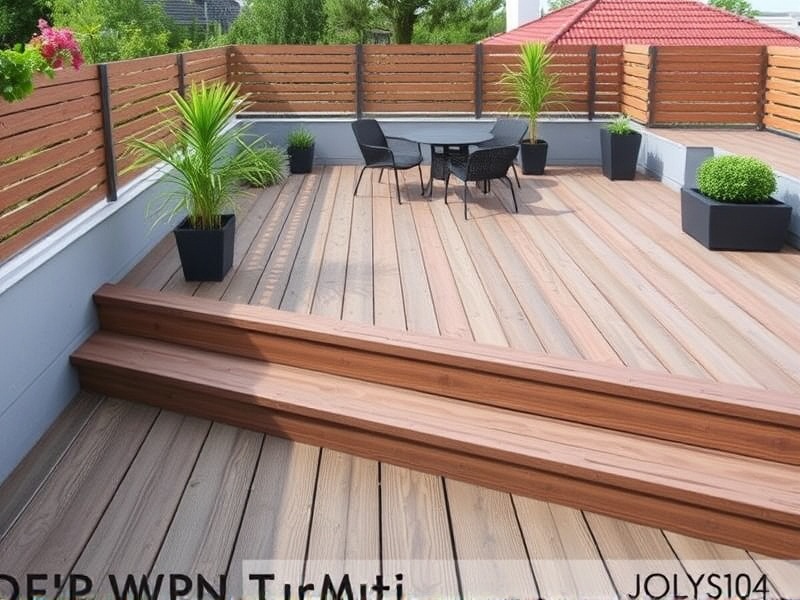
Wood-Plastic Composite (WPC) terraces are an increasingly popular choice for homeowners due to their durability, low maintenance, and aesthetic appeal. Installing a WPC terrace can seem daunting at first, but with the right guidance and tools, it can be a straightforward process. This comprehensive guide will walk you through every step of the installation process, from initial planning to the final touches.
Before diving into the installation, it’s crucial to plan your project thoroughly. Start by measuring the area where you want to install the terrace. Consider the size, shape, and elevation changes in the ground. You’ll need this information to determine how much material you’ll require. Additionally, check local building codes and regulations to ensure compliance. Consultation with a professional can also provide valuable insights into potential pitfalls and solutions.
To start, gather all necessary materials and tools. For materials, you will need WPC boards, screws, joists, and clips. Essential tools include a circular saw, drill, screwdriver, level, and measuring tape. Ensure all tools are in good working condition to avoid any mishaps during installation. Proper preparation ensures a smooth and efficient process.
The foundation is critical to the stability and longevity of your WPC terrace. Begin by clearing the area and ensuring the ground is level. Install concrete footings or metal brackets at regular intervals to support the joists. Place the joists on top of the footings, securing them with screws. Make sure they are level and evenly spaced according to the manufacturer’s recommendations. A stable foundation sets the stage for a successful installation.
Once the foundation is set, it’s time to lay the WPC boards. Start by laying out the first board along one edge of the joist system. Secure it using screws and clips provided by the manufacturer. Work your way across the terrace, ensuring each board is straight and aligned correctly. Overlap the joints of adjacent boards slightly and secure them with screws. Regularly check the alignment and level of the boards to maintain consistency throughout the project.
After completing the main structure, add finishing touches like railings and trim pieces. These elements not only enhance the look of your terrace but also contribute to its structural integrity. Finally, clean the surface of the WPC boards to remove any debris or marks left over from the installation process. Regular cleaning and occasional sealing can extend the life of your WPC terrace significantly.