Our Location
304 North Cardinal St.
Dorchester Center, MA 02124
304 North Cardinal St.
Dorchester Center, MA 02124

Discover the essential techniques for a successful composite decking project. Learn how to avoid common mistakes and ensure your deck lasts for years.
Composite decking has become a popular choice for outdoor living spaces due to its durability, low maintenance, and aesthetic appeal. Unlike traditional wood decking, composite materials are made from a mix of recycled plastics and wood fibers, making them resistant to rot, insects, and moisture. However, installing composite decking requires a different approach compared to wooden decks. This article will guide you through the step-by-step process of installing composite decking, including choosing the right tools, preparing the site, and securing the planks. We’ll also discuss common challenges and how to overcome them.
To ensure a successful installation, you’ll need the right tools. These include a circular saw, drill, impact driver, screw gun, tape measure, level, chalk line, and a jigsaw or hole saw for cutting around obstacles. Additionally, having a set of composite deck screws specifically designed for this type of material is crucial. Composite screws have a unique design that helps prevent splitting and provide better grip on the composite material.
The first step in preparing your site is to clear the area where you plan to install the composite decking. Remove any debris, vegetation, or existing structures. Next, mark out the perimeter of your deck using stakes and string. Ensure the ground is level by using a level tool. If necessary, use a concrete paver or gravel base to create a stable surface. It’s important to check local building codes and obtain any required permits before proceeding with the installation.
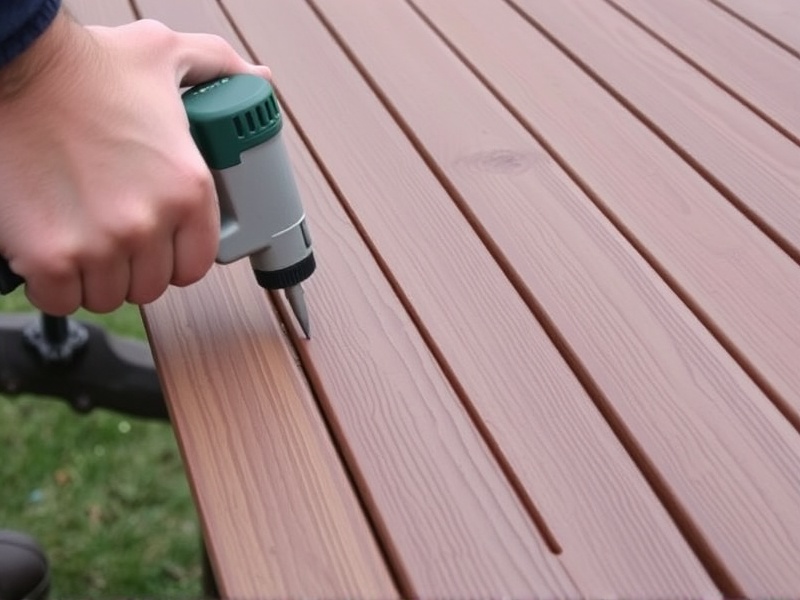
Once the site is prepared, it’s time to start laying down the composite planks. Begin by attaching the outer frame, ensuring that all corners are square. Use composite screws to attach the ledger board to the house if your deck is attached. For floating decks, secure the perimeter frame to the ground using appropriate anchors. When laying the planks, start from one end and work your way across, leaving a small gap (about 1/8 inch) between each plank to allow for expansion. Use a nail gun or composite screws to fasten the planks to the joists below. Be sure to stagger the joints to avoid weak points.
One common challenge when working with composite decking is dealing with tight spaces or awkward angles. A jigsaw or hole saw can be invaluable for cutting around obstacles such as posts or railings. Another issue is ensuring consistent spacing between planks. Using a spacer tool can help maintain uniform gaps, creating a professional finish. Finally, it’s important to protect your composite deck from stains and damage. Regular cleaning with mild detergent and water is sufficient, but avoid harsh chemicals that could degrade the material over time.
Installing composite decking is a rewarding project that can enhance the beauty and functionality of your outdoor space. By following these steps and being mindful of potential challenges, you can achieve a long-lasting, attractive deck that will serve you well for years to come. Remember to always consult manufacturer guidelines and seek professional advice when needed.
