Our Location
304 North Cardinal St.
Dorchester Center, MA 02124
304 North Cardinal St.
Dorchester Center, MA 02124

NovoCore Premium WPC (Wood Plastic Composite) flooring is an innovative solution that combines the natural beauty of wood with the durability and ease of maintenance of plastic. This type of flooring is ideal for homeowners looking to add a touch of elegance to their living spaces while ensuring longevity and resilience against moisture and wear. In this comprehensive guide, we will walk you through the process of installing NovoCore Premium WPC flooring, from preparing your space to achieving professional results.
To successfully install NovoCore Premium WPC flooring, you will need the following tools and materials:
Before beginning the installation process, it’s crucial to prepare your space properly. Start by ensuring that the subfloor is clean, dry, and level. If there are any uneven areas, use self-leveling compound to even out the surface. Allow sufficient time for the compound to cure according to the manufacturer’s instructions.
Next, unroll the underlayment over the entire area where the flooring will be installed. The underlayment serves as a barrier against moisture and helps in reducing noise. Make sure to overlap the seams of the underlayment sheets by at least 3 inches and secure them with adhesive tape.
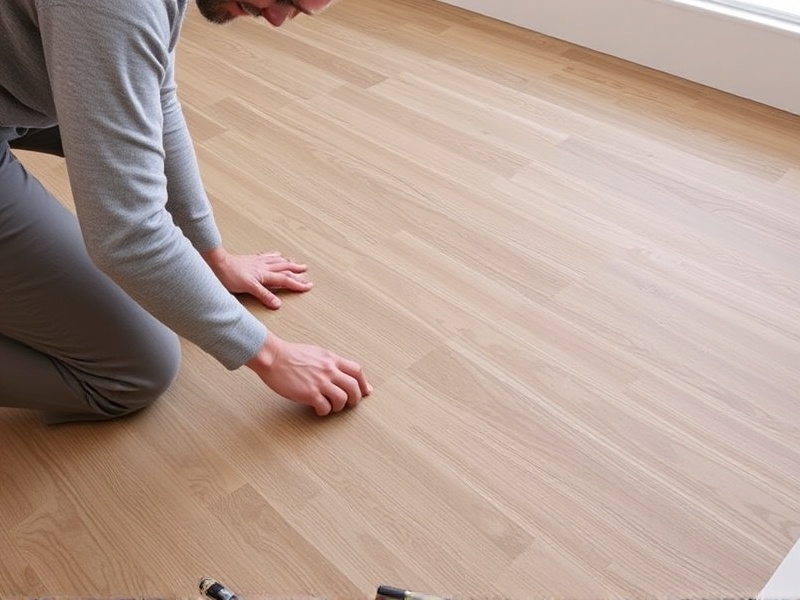
The installation process for NovoCore Premium WPC flooring typically involves two methods: the click-lock system and the adhesive method. For most DIY enthusiasts, the click-lock system is recommended due to its simplicity and efficiency.
Begin by cutting the first row of planks to size, leaving a small gap (about 1/4 inch) between the wall and the first plank to allow for expansion. Use a tapping block to gently tap the planks into place, ensuring they are tightly connected. Continue laying the planks row by row, working your way across the room. At the end of each row, use a miter saw to cut the last plank to fit snugly against the wall.
For doorways and transitions, install transition strips to cover the gaps between different flooring surfaces. These strips can be nailed or glued down, depending on the manufacturer’s recommendations.
If you choose to use an adhesive, apply it evenly along the back of the planks before placing them onto the underlayment. Press firmly to ensure a strong bond. Remember to leave expansion gaps around the perimeter of the room.
To achieve a professional-looking installation, follow these tips:
Installing NovoCore Premium WPC flooring is a rewarding project that can transform your living space. By following the steps outlined above and paying attention to detail, you can achieve a professional and elegant look in your home. Remember to always refer to the manufacturer’s guidelines for specific instructions related to your particular product.