Our Location
304 North Cardinal St.
Dorchester Center, MA 02124
304 North Cardinal St.
Dorchester Center, MA 02124

Get practical advice on installing Spotted Gum composite decking, ensuring a long-lasting and aesthetically pleasing outdoor living space.
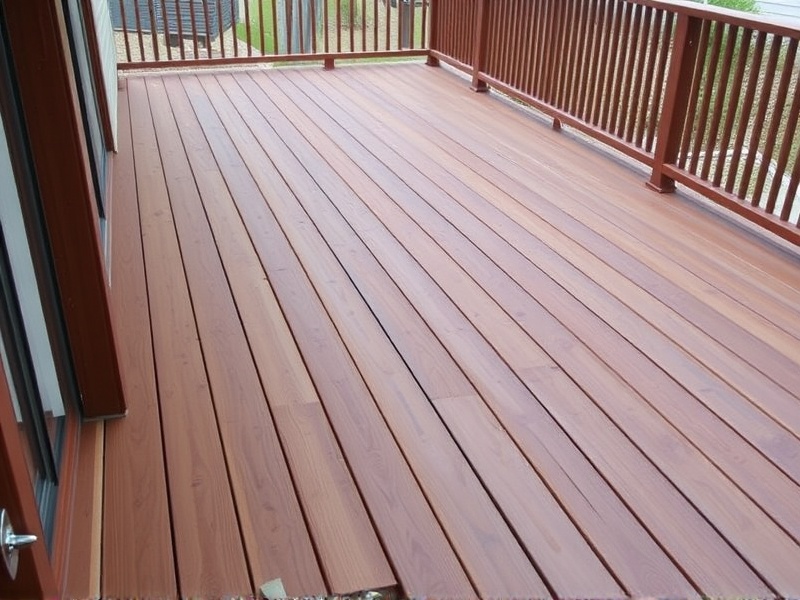
Spotted Gum composite decking is a popular choice for outdoor living spaces due to its durability, low maintenance, and natural appearance. However, the installation process can be challenging if not done correctly. This article provides detailed, step-by-step instructions for installing spotted gum composite decking. We’ll also cover common mistakes to avoid and tips for achieving professional results.
Before starting the installation, ensure you have all the necessary tools and materials. This includes spotted gum composite boards, screws, joist hangers, and a level. It’s crucial to plan your deck layout and measure the area accurately. Check the weather forecast to ensure that you have several days of dry weather ahead for optimal installation conditions. For more details on planning, refer to this Family Handyman guide.
The frame is the foundation of your deck. Use pressure-treated lumber for the frame, as it resists moisture and insects better than other types of wood. Ensure that the frame is level and square by using a level and measuring tape. Attach the joists with galvanized screws or nails, spacing them according to manufacturer recommendations. Proper framing is critical for the stability and longevity of your deck.
Start laying the composite boards from one end of the deck, leaving a small gap between each board for expansion. Secure the boards with hidden fasteners or screws, making sure they are straight and aligned. Avoid over-tightening the screws, as this can cause the boards to warp. For guidance on proper installation techniques, consult this This Old House article.
After installing the composite boards, add railings, stairs, and any other finishing touches. Ensure all connections are secure and that the deck is safe for use. Regular cleaning and maintenance will keep your spotted gum composite deck looking great for years to come.
