Our Location
304 North Cardinal St.
Dorchester Center, MA 02124
304 North Cardinal St.
Dorchester Center, MA 02124

Get practical advice on installing Polywood composite decking, including tools needed, installation steps, and tips for achieving a professional finish.
Polywood composite decking is a popular choice among homeowners due to its durability, low maintenance, and eco-friendly nature. However, the process of installing it can be daunting without proper guidance. This guide aims to provide a comprehensive set of step-by-step instructions to help you install your Polywood composite deck successfully. By following these expert tips, you’ll ensure a smooth installation process and a beautiful outdoor living space.
To start with, you need a variety of tools and materials to complete the installation of your Polywood composite deck. Below is a list of essential items:
Before you begin, measure the area where you want to install your deck. Ensure that your design complies with local building codes and regulations. Level the ground and mark the perimeter using stakes and string lines. Prepare the site by removing any debris and ensuring the ground is compacted.
The next step involves building the frame of your deck. Use 2×6 or 2×8 pressure-treated lumber for the joists, spaced at 16 inches on center. Attach the ledger board to your house using post anchors and concrete screws. Install beams and posts as needed to support the structure.
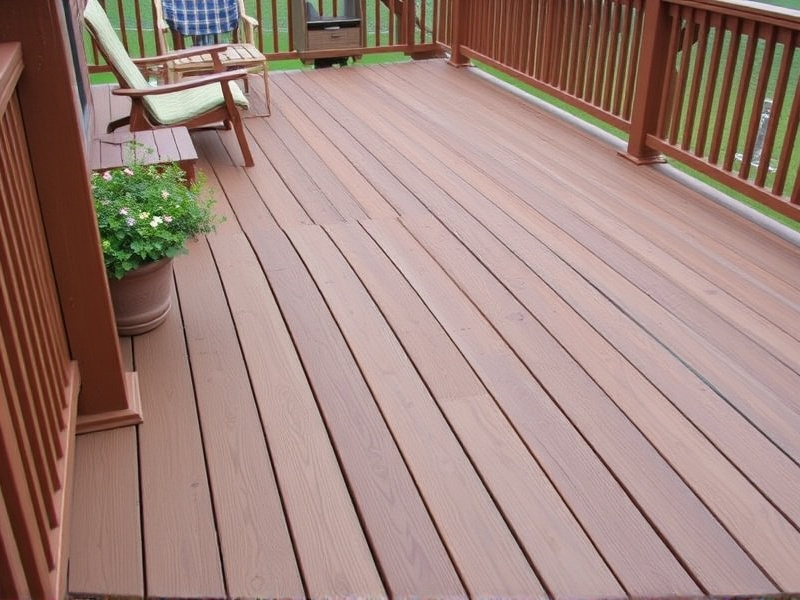
Start laying the Polywood composite boards perpendicular to the joists, starting from one end of the deck. Use hidden fasteners if you prefer a cleaner look, or surface-mounted screws for added stability. Ensure the boards are tightly butted together, leaving a small gap between each board to allow for expansion and contraction.
Complete your deck by adding railings, stairs, and other finishing touches. Ensure all connections are secure and the deck is level. Clean up the site, disposing of any waste materials properly.
