Our Location
304 North Cardinal St.
Dorchester Center, MA 02124
304 North Cardinal St.
Dorchester Center, MA 02124

Patina WPC (Wood Plastic Composite) flooring is a popular choice for homeowners and commercial property owners due to its durability, aesthetics, and low maintenance requirements. However, the installation process can be challenging if not handled correctly. This article provides detailed, step-by-step instructions and tips for installing Patina WPC flooring, addressing common challenges and offering solutions to ensure a flawless finish.
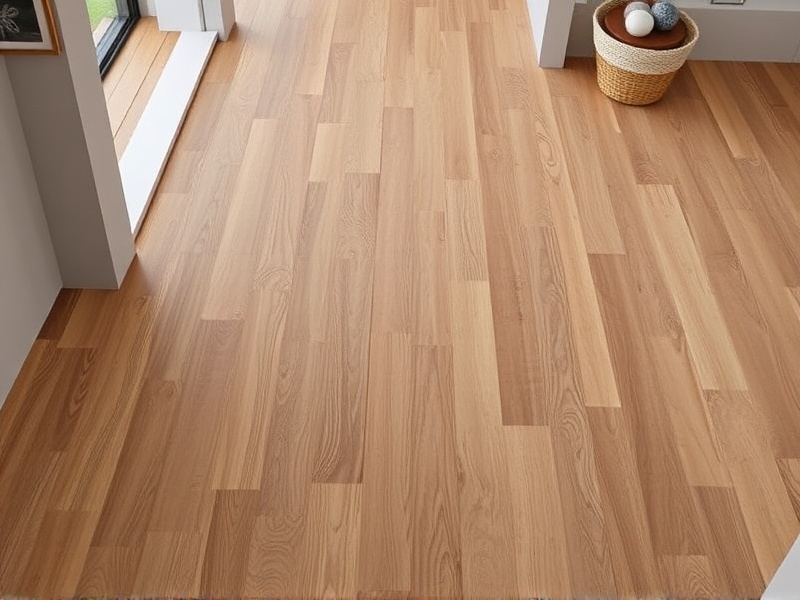
Patina WPC flooring combines wood fibers with plastic resins to create a highly durable and water-resistant surface. This material is ideal for kitchens, bathrooms, patios, and other areas that require high resistance to moisture and wear. Understanding the unique properties of Patina WPC flooring is essential for successful installation.
Before starting the installation process, it’s crucial to prepare the subfloor properly. Ensure the subfloor is clean, dry, and level. Any unevenness or debris can affect the final appearance of your flooring. Additionally, allow the Patina WPC planks to acclimate in the room where they will be installed for at least 48 hours. This helps them adjust to the room’s temperature and humidity levels, reducing the risk of warping or buckling after installation.
Begin by laying out the Patina WPC planks on the subfloor to determine the best layout. Leave a small gap between each plank to accommodate expansion. Use a miter saw to cut the planks to size, ensuring precise cuts for a professional look.
Start installing the first row of planks along a straight edge, such as a wall. Use a tapping block and mallet to gently tap the planks into place, ensuring they are snug against each other. For corners or edges, use a jigsaw to make precise cuts.
Continue laying the planks, staggering the joints between rows for added stability. As you approach the end of a row, cut the last plank to fit the remaining space. It’s important to leave a small gap between the last plank and the wall to allow for expansion.
Once all the planks are laid, install baseboards and trim to cover any gaps. This not only enhances the aesthetic appeal but also protects the edges of the flooring from damage.
Warping or buckling can occur if the flooring isn’t allowed to acclimate properly or if the subfloor isn’t level. Always follow the manufacturer’s guidelines for acclimation time and ensure the subfloor is perfectly flat before installation.
To avoid uneven joints, use a tapping block when joining planks. This ensures that each plank sits flush against the next without any noticeable gaps.
Installing Patina WPC flooring requires attention to detail and adherence to proper techniques. By following these step-by-step instructions and tips, you can achieve a flawless finish that enhances the beauty and functionality of your space. Remember, preparation is key, and taking the time to prepare the subfloor and acclimate the materials will pay off in the long run.