Our Location
304 North Cardinal St.
Dorchester Center, MA 02124
304 North Cardinal St.
Dorchester Center, MA 02124

Get practical advice on installing new composite decking from professionals. Follow step-by-step instructions to ensure a successful installation process.
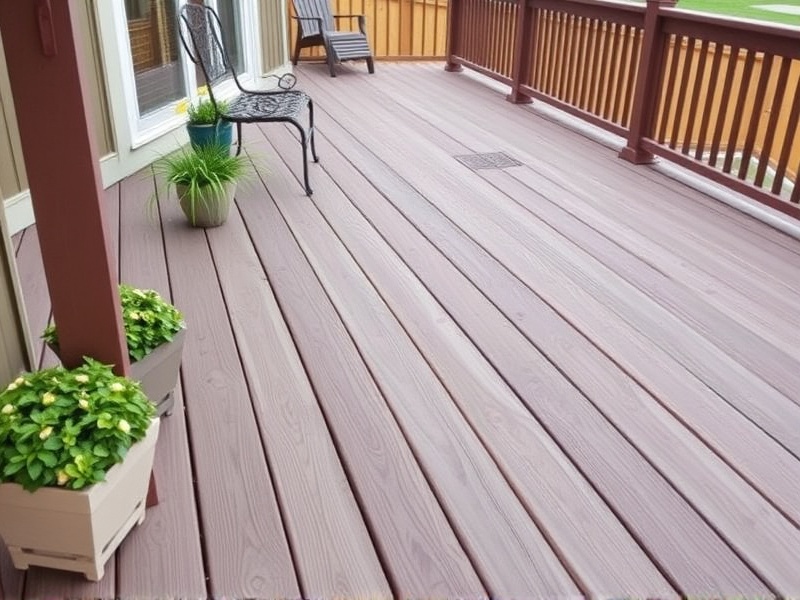
New composite decking has become increasingly popular due to its durability, low maintenance, and aesthetic appeal. Unlike traditional wooden decks that require frequent staining and replacement, composite decking offers a long-lasting solution that is resistant to moisture, insects, and weather conditions. However, installing new composite decking requires careful planning and execution to ensure a flawless finish. This guide will detail the installation process, including necessary tools, preparation steps, and common mistakes to avoid. Expert tips are included to help you achieve a professional-looking deck.
To install new composite decking successfully, you’ll need several essential tools. These include a circular saw or miter saw for cutting the decking boards to size, a drill with various bits for screwing the boards into place, a level to ensure your deck is even, and a jigsaw for cutting intricate shapes if needed. Additionally, a measuring tape, utility knife, and safety gear such as gloves and goggles are indispensable. Having these tools on hand will streamline the process and make your work easier and more efficient.
Before beginning the installation, it’s crucial to prepare the area properly. First, clear the space where the deck will be built, removing any debris or obstacles. Ensure that the ground is level and stable; if necessary, pour a concrete foundation or use adjustable deck footings to create a solid base. Next, lay down a vapor barrier or underlayment to prevent moisture from seeping up through the ground and damaging the composite material. Finally, mark out the dimensions of the deck using stakes and string to maintain accurate measurements throughout the construction process.
Several common mistakes can lead to subpar results when installing composite decking. One of the most frequent errors is not allowing enough space between boards for expansion and contraction due to temperature changes. Always leave a gap of at least 1/8 inch between each board. Another mistake is failing to use the correct screws or fasteners, which can result in warping or splitting of the composite material over time. Use specialized composite deck screws designed to minimize splitting and provide a secure hold. Lastly, neglecting to clean and seal the deck after installation can shorten its lifespan significantly. Regular cleaning and periodic sealing are key to maintaining the appearance and longevity of your new composite deck.
To achieve a professional-looking deck, follow these expert tips. Start by choosing high-quality composite materials that match your design preferences and climate conditions. Pre-drill holes before driving screws to prevent splitting and ensure a tight fit. Use hidden fastening systems where possible to create a cleaner look. When cutting composite boards, always use a fine-tooth blade to reduce splintering. Finally, apply a coat of sealant or protective finish once the deck is fully installed to enhance its beauty and protect against wear and tear.
Installing new composite decking can be a rewarding project that adds value and enjoyment to your home. By following the guidelines outlined above and taking care to avoid common pitfalls, you can create a beautiful, durable outdoor living space that will last for years. Remember to plan thoroughly, invest in quality materials, and pay attention to detail throughout the process. With these steps, you’ll be well on your way to enjoying your new composite deck for many summers to come.
