Our Location
304 North Cardinal St.
Dorchester Center, MA 02124
304 North Cardinal St.
Dorchester Center, MA 02124

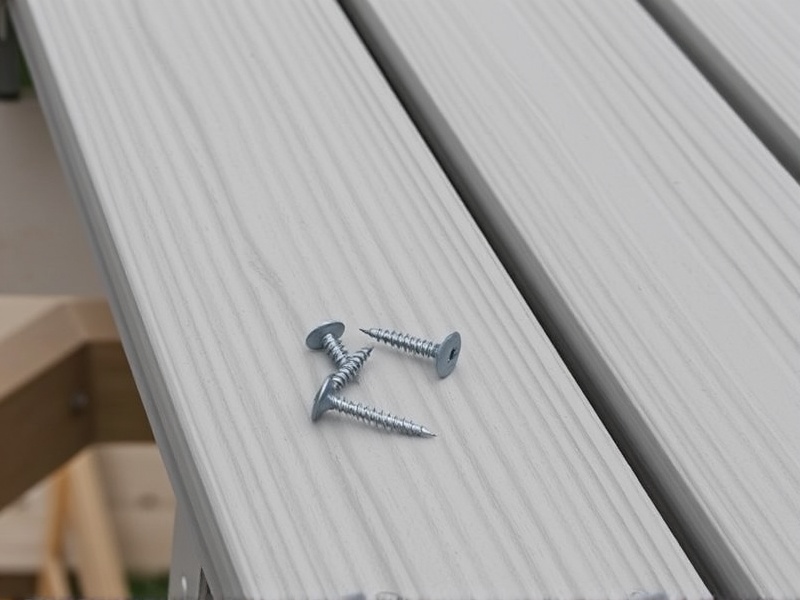
Installing light grey composite decking can significantly enhance the aesthetic appeal of your outdoor space. These composite materials are not only durable but also require minimal maintenance, making them a popular choice among homeowners. However, ensuring the correct installation of light grey composite decking screws is crucial for achieving a professional finish and prolonging the lifespan of your deck. This article provides detailed, step-by-step instructions on how to install light grey composite decking screws correctly, including the necessary tools, techniques for precise placement, and common mistakes to avoid.
To ensure a successful installation, you’ll need a few essential tools. These include a drill with screwdriver bits, a speed square or framing square, a circular saw or miter saw, a jigsaw, a level, and clamps. Additionally, it’s advisable to have a set of protective gear such as gloves and safety glasses. Having these tools at hand will streamline the process and help prevent any mishaps during installation.
Before you start drilling holes, make sure that your composite decking boards are clean and free from debris. Measure and mark the positions where you plan to place your screws using a pencil and a speed square. Ensure that the marks are evenly spaced and aligned straight. This preparation is key to maintaining the structural integrity and visual appeal of your deck.
Using a drill with a pilot hole bit, create small holes in the marked spots. This step is crucial as it prevents the composite material from splitting when you drive in the screws. The size of the pilot hole should be slightly smaller than the diameter of the screw shank to provide a snug fit.
Once the pilot holes are ready, use a screwdriver bit attached to your drill to drive the light grey composite decking screws into the pre-drilled holes. Make sure the screws are driven straight and flush with the surface of the decking board. Using a level can help ensure that each screw is placed correctly and that your deck remains even.
One of the most common mistakes is not pre-drilling the holes, which can lead to cracking and splitting of the composite material. Another mistake is over-tightening the screws, which can cause the heads to sink below the surface, leading to an uneven appearance. Always follow the manufacturer’s guidelines regarding screw depth and spacing to achieve optimal results.
To ensure precise placement, consider using a jig or guide to maintain consistent spacing between screws. This tool helps keep the screws in a straight line and ensures they are evenly distributed across the deck. Additionally, using a countersink bit can help create a slight depression around the screw head, allowing it to sit flush with the surface without causing bumps.
Proper installation of light grey composite decking screws is vital for creating a beautiful and long-lasting outdoor space. By following the steps outlined above and avoiding common pitfalls, you can achieve a professional-looking deck that withstands the test of time. Remember, precision and attention to detail are key to a successful project. With the right tools and techniques, your light grey composite deck will not only look great but also stand the test of time.