Our Location
304 North Cardinal St.
Dorchester Center, MA 02124
304 North Cardinal St.
Dorchester Center, MA 02124

Get expert advice on installing composite fences, from preparing the site to finishing touches for a professional look.
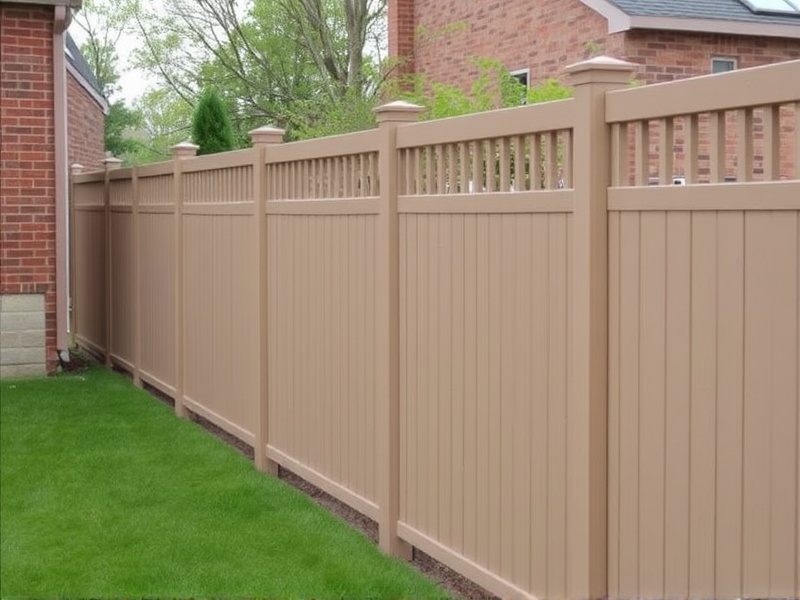
Composite fencing has become an increasingly popular choice among homeowners due to its durability, low maintenance requirements, and aesthetic appeal. Unlike traditional wood fences that require regular painting or staining, composite fencing is made from a combination of recycled plastic and wood fibers, making it resistant to rot, insects, and weather conditions. However, installing a composite fence can still be a challenging task if not done correctly. This article will detail the step-by-step process of installing a composite fence, highlight common pitfalls, and provide best practices for a successful installation.
The first step in installing a composite fence is planning and preparation. This includes determining the exact dimensions of your fence, acquiring the necessary permits, and selecting the appropriate materials. It’s crucial to measure your property accurately to ensure you purchase the right amount of fencing material. Additionally, check with your local municipality for any regulations or restrictions on fence installations in your area.
Digging post holes is a critical part of the installation process. Ensure that the holes are deep enough to accommodate the posts and wide enough to allow for proper drainage. A good rule of thumb is to dig holes that are one-third the height of the fence plus six inches. For example, if your fence is six feet tall, the hole should be two feet deep. Use a level to ensure that the posts will be plumb when installed.
Once the holes are dug, it’s time to set the posts. Fill the bottom third of each hole with concrete, then insert the post and fill the remainder of the hole with concrete. Allow the concrete to cure according to the manufacturer’s instructions before proceeding. Properly setting the posts ensures a sturdy foundation for your fence.
After the posts are set, install the rails horizontally between the posts. Secure them using screws or nails provided by the manufacturer. Next, attach the composite panels to the rails. Make sure the panels are aligned properly and use the recommended fasteners to secure them in place.
One common pitfall during installation is not measuring accurately. This can lead to purchasing too much or too little material, which can be costly. Another mistake is not allowing the concrete to cure properly, which can result in unstable posts. Lastly, failing to follow the manufacturer’s instructions can lead to improper installation and potential damage to the fence.
To avoid these pitfalls, always measure twice and cut once. Follow the manufacturer’s instructions carefully, and allow sufficient time for the concrete to cure. Additionally, consider hiring a professional installer if you’re unsure about any part of the process. Professionals have the experience and tools necessary to ensure a successful installation.
Installing a composite fence can be a rewarding project that enhances the look and value of your home. By following the steps outlined above and avoiding common pitfalls, you can ensure a successful installation. Remember to plan ahead, measure accurately, and follow the manufacturer’s instructions closely. With the right approach, your composite fence will stand the test of time and provide years of enjoyment.
