Our Location
304 North Cardinal St.
Dorchester Center, MA 02124
304 North Cardinal St.
Dorchester Center, MA 02124

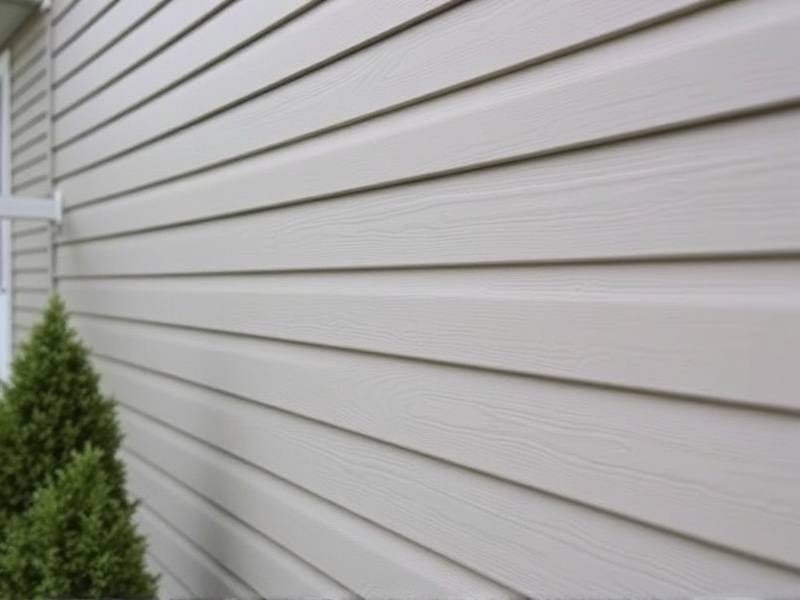
Composite exterior siding panels have become increasingly popular in recent years due to their durability, aesthetic appeal, and low maintenance requirements. These panels are made from a combination of materials such as wood fibers, recycled plastics, and resins, which makes them resistant to rot, insects, and moisture. Proper installation is crucial to ensure that your composite siding not only looks great but also lasts for many years. In this guide, we will provide you with a comprehensive overview of the techniques required to install composite exterior siding panels effectively.
Before starting the installation process, it’s essential to prepare the surface where the composite siding will be installed. Ensure that the wall is clean, dry, and free from any debris or loose material. Apply a waterproof membrane if necessary, especially in areas prone to high moisture levels. This step is critical to prevent water infiltration, which can damage the siding over time. Additionally, check the weather forecast and plan the installation during a period of stable weather conditions to avoid rain or excessive humidity that could affect the quality of the installation.
When cutting composite siding panels, use a fine-toothed saw to minimize splintering and ensure a smooth edge. Measure twice and cut once to avoid mistakes. Always start by measuring and marking the panels according to the dimensions of the wall sections they will cover. Cutting the panels to fit around windows, doors, and other architectural features requires precision. Use a jigsaw or coping saw for intricate cuts. When fitting the panels together, ensure that there is a small gap between each panel to allow for expansion and contraction due to temperature changes. This gap should be covered with trim pieces to maintain the integrity of the installation.
Once the panels are installed, the final step is to apply trim pieces to cover the gaps and edges. Choose trim pieces that match the color and style of the composite siding for a cohesive look. Secure the trim pieces using appropriate fasteners, ensuring they are flush with the surface of the siding. It’s important to caulk around the edges of the trim to prevent water intrusion. Regular maintenance, including cleaning with mild soap and water, will help preserve the appearance and longevity of your composite siding.
National Association of Certified Home Inspectors: Composite Siding