Our Location
304 North Cardinal St.
Dorchester Center, MA 02124
304 North Cardinal St.
Dorchester Center, MA 02124

Get practical advice on installing composite decking 2, ensuring a successful outcome for your DIY or professional project.
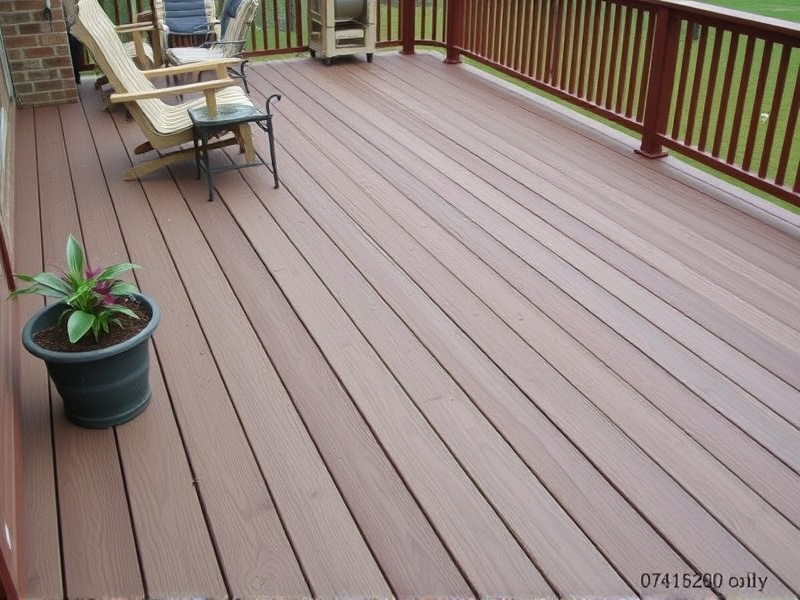
Composite decking has become increasingly popular due to its durability, low maintenance requirements, and aesthetic appeal. The second generation of composite decking materials has improved upon the original by offering enhanced strength, better color retention, and a more natural wood-like appearance. This guide will walk you through the step-by-step process of installing composite decking 2, from preparation to securing the boards, while highlighting common mistakes to avoid and offering troubleshooting tips for a smooth installation.
The first step in any deck installation is thorough preparation. Begin by selecting a level area with good drainage. Ensure that your site is free from debris and vegetation. If necessary, level the ground using a tamper or a plate compactor. Additionally, check local building codes and obtain any required permits before starting your project.
Once the site is prepared, it’s time to lay out your deck. Use string lines and stakes to mark the perimeter accurately. Consider adding footings at regular intervals to support the deck structure. Proper layout ensures that your deck will be both structurally sound and aesthetically pleasing.
Cutting composite decking 2 requires special tools and techniques. Unlike traditional wood, composite materials do not accept cuts easily, so use a fine-toothed saw blade to prevent splintering. Always measure twice and cut once to avoid unnecessary waste. When fitting the boards, ensure they are spaced evenly to allow for expansion and contraction. Common mistakes include over-tightening screws, which can cause the material to split, and improper spacing, leading to uneven surfaces.
Securing composite decking 2 involves attaching the boards to the frame using screws or hidden fasteners. Hidden fasteners are recommended as they provide a cleaner look and reduce the risk of splitting. Ensure that screws are driven at an angle to the board to accommodate expansion and contraction. It’s also crucial to use the correct type of screw, typically stainless steel or composite-specific screws, to prevent corrosion.
Despite careful planning, issues may arise during installation. For instance, if you notice warping or twisting in the boards, double-check your spacing and ensure that the substructure is level. If the boards appear uneven, recheck your layout and make adjustments accordingly. Regularly inspecting your work throughout the installation process can help catch problems early on.
Installing composite decking 2 is a rewarding project that can significantly enhance your outdoor living space. By following these detailed steps and avoiding common pitfalls, you can achieve a professional-looking result. Remember, patience and attention to detail are key to a successful installation. With the right preparation and tools, you can enjoy your new deck for years to come.
How to Install Composite Decking, Family Handyman.
