Our Location
304 North Cardinal St.
Dorchester Center, MA 02124
304 North Cardinal St.
Dorchester Center, MA 02124

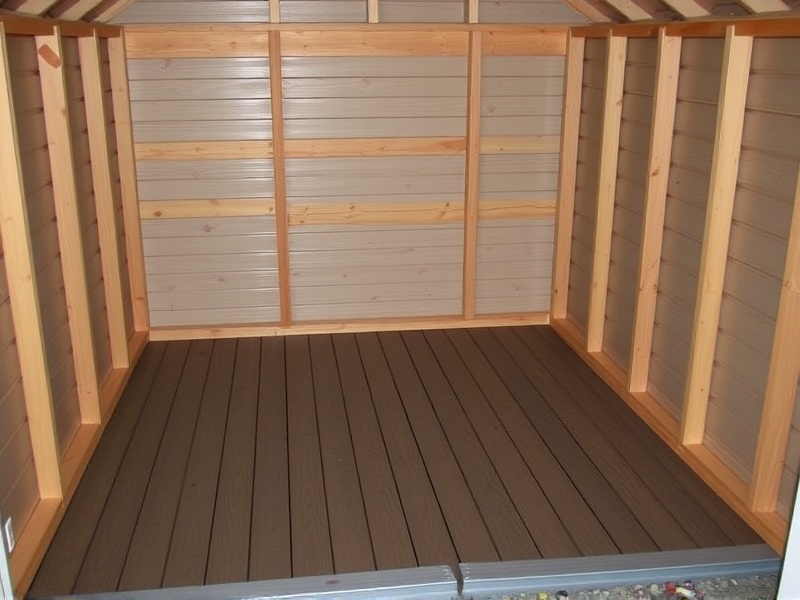
The Yukon Storage Shed WPC Floor Kit is an excellent choice for enhancing the durability and aesthetics of your storage shed. This guide aims to provide detailed instructions on installing this kit, highlighting common pitfalls and offering tips for a successful outcome. Whether you are a seasoned DIY enthusiast or a beginner, these steps will help you install the floor with confidence.
Before diving into the installation process, ensure you have all the necessary materials at hand. The Yukon Storage Shed WPC Floor Kit typically includes composite flooring panels, screws, clips, and a waterproof sealant. You may also need basic tools such as a drill, saw, measuring tape, and level. Ensure that you have these items ready before starting the project.
Begin by clearing the area inside the shed. Remove any debris or old flooring material. Check the surface for any unevenness or damage. If needed, use a concrete screed or wood leveling compound to ensure a flat surface. This step is crucial for ensuring the stability and longevity of the new floor.
Measure the interior dimensions of the shed carefully. Using a circular saw or a handsaw, cut the composite panels to fit the dimensions of the shed. It’s advisable to add a few extra inches to each panel, as they can be trimmed later if necessary. This allows for flexibility during installation.
Start laying the first row of panels along one wall, leaving a small gap (about 1/8 inch) between the panels and the wall for expansion. Use the provided clips and screws to secure the panels in place. Ensure that each panel is aligned properly and tightly fitted against the previous one. For areas where the panels do not fit perfectly, trim them accordingly using a saw. Continue this process until the entire floor is covered.
After the main floor is installed, apply a waterproof sealant around the edges and any gaps to prevent moisture from seeping through. This step is essential for maintaining the integrity of the floor over time. Allow the sealant to dry completely before placing any heavy items on the floor.
One common mistake is not allowing enough room for expansion. Composite materials expand and contract with changes in temperature, so it’s important to leave a small gap around the edges. Another pitfall is not securing the panels tightly enough, which can lead to squeaking noises or uneven surfaces over time.
Installing a Yukon Storage Shed WPC Floor Kit is a straightforward process when done correctly. By following these detailed instructions and avoiding common pitfalls, you can achieve a professional-looking result that enhances the functionality and appearance of your shed. Happy building!