Our Location

304 North Cardinal St.
Dorchester Center, MA 02124

Installation Guide: Isolation Membrane Between Pressure Treated Deck Frame and Composite Decking

Follow this step-by-step guide to properly install an isolation membrane to ensure the longevity and durability of your composite deck.

Installation Guide: Isolation Membrane Between Pressure Treated Deck Frame and Composite Decking

Introduction

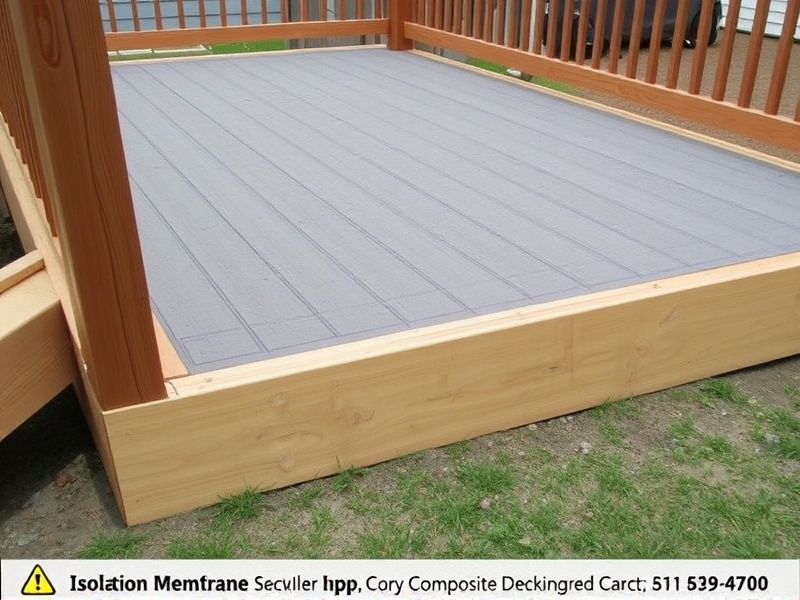
The installation of an isolation membrane between pressure-treated deck frames and composite decking is a crucial step in ensuring the longevity and durability of your deck. This guide aims to provide you with a comprehensive set of instructions, the necessary tools required for the job, and common pitfalls to avoid during the installation process. By following these guidelines, you can ensure that your deck not only looks great but also stands the test of time.

Necessary Tools and Materials

To successfully install an isolation membrane between your pressure-treated deck frame and composite decking, you will need the following tools and materials:

  • Isolation Membrane: A high-quality, UV-resistant membrane designed specifically for this purpose.
  • Pressure-Treated Lumber: The structural components of your deck frame.
  • Composite Decking Boards: The surface material for your deck.
  • Fasteners: Screws or nails suitable for composite materials.
  • Measuring Tape: For accurate measurements.
  • Utility Knife: To cut the membrane to size.
  • Safety Gear: Gloves, goggles, and work boots.

Detailed Installation Instructions

Follow these steps carefully to ensure proper installation of the isolation membrane:

  1. Preparation: Begin by laying out your pressure-treated deck frame on a flat surface. Ensure that it is level and free from any debris or sharp objects.
  2. Membrane Installation: Unroll the isolation membrane over the entire deck frame, ensuring it covers all areas where the composite decking will be installed. Secure the membrane using appropriate fasteners, spacing them at regular intervals to prevent bunching or folding.
  3. Cutting: Use a utility knife to trim excess membrane around the edges of the deck frame. Make sure to leave enough overlap to ensure complete coverage.
  4. Deck Board Installation: Once the membrane is securely in place, begin installing the composite decking boards. Follow the manufacturer’s guidelines for spacing and fastening the boards to ensure they are secure and level.

Common Pitfalls to Avoid

When installing an isolation membrane, there are several common mistakes that can lead to poor results. These include:

  • Insufficient Overlap: Not leaving enough overlap can result in gaps through which moisture can penetrate.
  • Poor Fastening: Using incorrect or insufficient fasteners can cause the membrane to shift or tear.
  • Inadequate Preparation: Failing to clean and level the deck frame before installation can affect the membrane’s effectiveness.

Conclusion

Installing an isolation membrane between pressure-treated deck frames and composite decking is a critical step in creating a durable and long-lasting outdoor living space. By following the detailed instructions provided here and avoiding common pitfalls, you can ensure that your deck remains beautiful and functional for years to come. Remember, proper preparation and attention to detail are key to a successful installation.

Reference

Deck Resource – Best Practices for Installing Isolation Membrane

Leave a Reply

Your email address will not be published. Required fields are marked *