DIY WPC Wall Panels: A Beginner’s Installation Guide
Understanding WPC Wall Panels
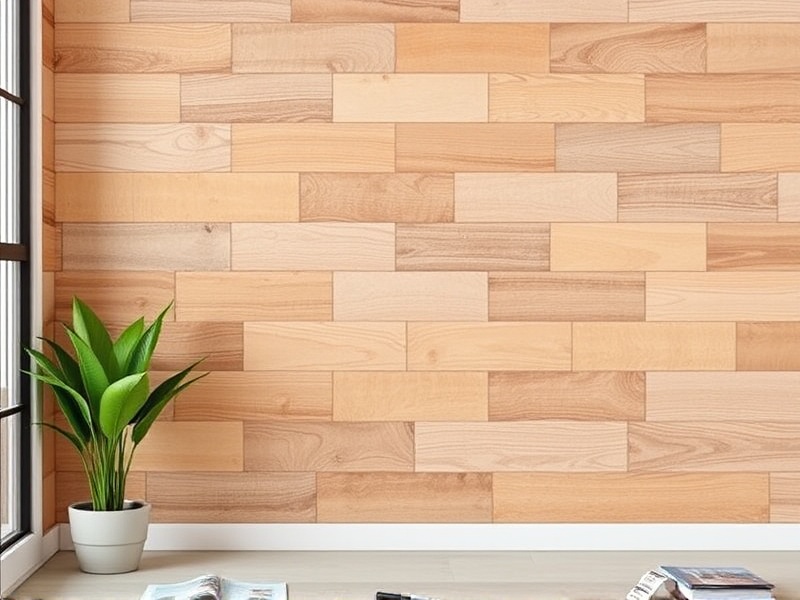
WPC (Wood Plastic Composite) wall panels are a popular choice for interior design due to their durability, ease of maintenance, and aesthetic appeal. These panels are made from a mixture of wood fibers and plastic, making them resistant to moisture, pests, and wear. They come in various finishes and colors, allowing for customization according to your room’s theme. This guide will walk you through the installation process in simple terms, ensuring that even beginners can successfully install WPC wall panels.
Tools and Materials Needed
To begin with, ensure you have all the necessary tools and materials for the job. You will need:
- WPC wall panels
- A measuring tape
- A level
- A utility knife or saw
- Adhesive glue suitable for WPC panels
- Nails or screws (depending on the type of panel)
- A drill
- A hammer
Having these items ready will streamline your installation process and prevent delays caused by missing equipment.
Installation Process
The installation process can be broken down into several steps:
- Measure and Cut Panels: Measure the dimensions of the wall where you plan to install the panels. Use a utility knife or saw to cut the panels to size, ensuring they fit perfectly. It is crucial to measure twice and cut once to avoid wasting material.
- Mark and Level the Wall: Mark the wall at regular intervals where you will place the panels. Use a level to ensure each mark is straight, which will help in aligning the panels properly.
- Apply Adhesive: Apply a thin layer of adhesive to the back of each panel before attaching it to the wall. This ensures a strong bond and prevents the panels from falling off.
- Attach Panels: Secure the panels using nails or screws, depending on the type of panel you have purchased. Start from the center and work your way outwards to minimize warping.
- Cut Around Obstacles: For areas around outlets, switches, or other obstacles, use a utility knife to carefully cut the panels to fit around them.
Tips for Successful Completion
To ensure a smooth installation, here are some tips:
- Preparation is Key: Before starting, clean the wall thoroughly to remove any dust or debris. This ensures a better adhesion of the panels.
- Use Proper Tools: Ensure you have the right tools for cutting and installing the panels. A sharp blade will make clean cuts and reduce wastage.
- Double Check Measurements: Always double-check your measurements before cutting to avoid costly mistakes.
- Start from the Center: Beginning from the center helps maintain symmetry and reduces the likelihood of misalignment.
By following these tips, you can avoid common pitfalls and achieve professional-looking results.
Common Mistakes to Avoid
Several common mistakes can hinder the success of your DIY project. These include:
- Inaccurate Measurements: Incorrect measurements can lead to improperly sized panels, causing gaps or overlaps.
- Poor Adhesion: Skipping the adhesive step can result in loose panels that may fall off over time.
- Incorrect Alignment: Not using a level during installation can lead to uneven rows, affecting the overall appearance.
- Ignoring Obstacles: Failing to account for electrical outlets or other fixtures can cause unnecessary complications during installation.
Avoiding these mistakes will help ensure a successful outcome.
Conclusion
Installing WPC wall panels can transform the look of your space while adding durability and ease of maintenance. By following this beginner’s guide, you can confidently undertake this project and enjoy the results. Remember, preparation and attention to detail are key to achieving a professional finish. Happy building!
Reference
How to Install WPC Wall Panels, Home Depot