Our Location
304 North Cardinal St.
Dorchester Center, MA 02124
304 North Cardinal St.
Dorchester Center, MA 02124

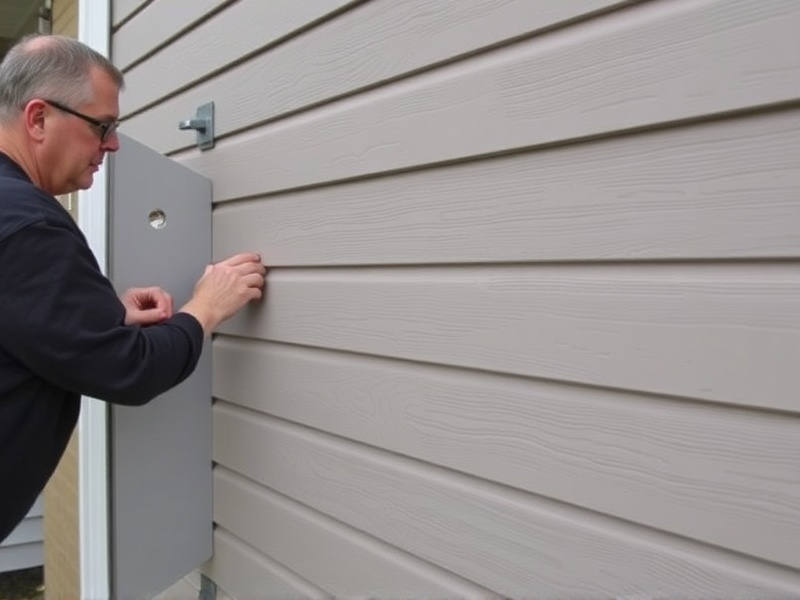
Step-by-step instructions and expert advice for installing Menards composite cladding yourself, saving money and achieving professional results.
Before you embark on the installation of Menards composite cladding, it is crucial to prioritize your safety. Ensure that you have the necessary protective gear, such as gloves, safety goggles, and a dust mask. Composite materials can produce fine particles during cutting, which might irritate your skin or eyes. Additionally, working at heights requires a sturdy ladder and a spotter to assist you. It’s also wise to review the manufacturer’s guidelines and any local building codes to ensure compliance.
To successfully install Menards composite cladding, you will need a variety of tools and materials. These include a circular saw or miter saw for cutting the cladding, a drill with appropriate bits for attaching the cladding, screws specifically designed for composite materials, a level to ensure straight lines, a measuring tape, and a utility knife for trimming. You may also need a caulk gun and exterior-grade silicone sealant to prevent moisture intrusion.
Step 1: Preparation and Layout: Start by preparing the surface where the cladding will be installed. Clean the area thoroughly to remove dirt, debris, and any old paint or adhesive. Use a chalk line or laser level to mark out the layout of the first row of cladding. This ensures that the installation starts straight and remains aligned throughout the process.
Step 2: Cutting the Cladding: Measure and mark the cladding according to your layout. Use a circular saw or miter saw to cut the material. Always wear safety goggles and a dust mask when cutting composite materials. For precise cuts, clamp the material securely to avoid movement during cutting.
Step 3: Installing the First Row: Begin installing the cladding from the bottom up. Attach the first piece using screws spaced every 16 inches along the studs. Make sure the cladding is flush against the wall and use a level to check for straightness. The manufacturer’s recommended screw spacing should be followed to ensure the durability of the installation.
Step 4: Installing Subsequent Rows: Overlap each subsequent row by at least 1/4 inch to prevent water infiltration. Drill pilot holes before inserting screws to avoid splitting the composite material. Use a caulk gun to apply a thin bead of silicone sealant along the joints for added protection against moisture.
If you encounter gaps between the cladding pieces, adjust the overlap accordingly. If the cladding appears wavy or uneven, recheck your measurements and leveling. If screws are visible or the cladding is not flush, remove them and reattach the piece ensuring it aligns correctly with adjacent pieces. Always refer back to the manufacturer’s guidelines for troubleshooting specific issues.
