Our Location
304 North Cardinal St.
Dorchester Center, MA 02124
304 North Cardinal St.
Dorchester Center, MA 02124

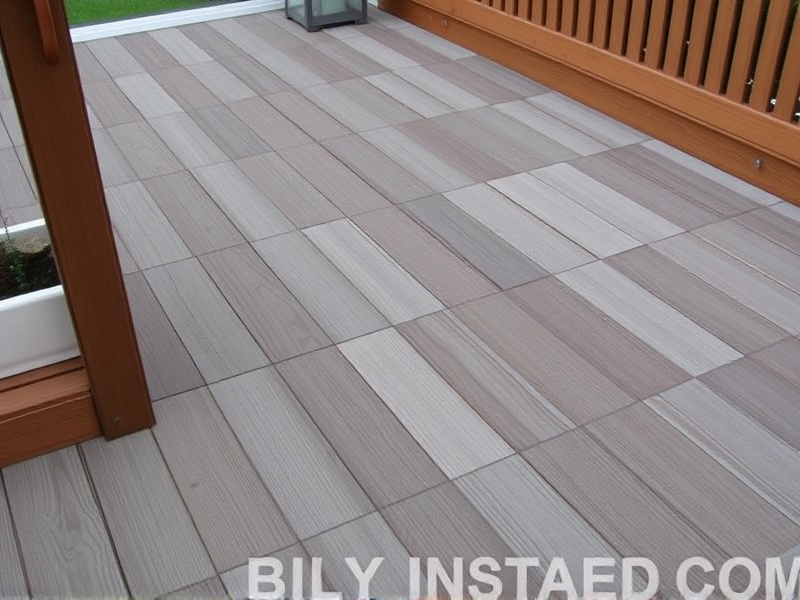
Follow this step-by-step guide to install composite decking squares yourself, saving money and achieving professional results.
Composite decking squares have become increasingly popular due to their durability, low maintenance requirements, and aesthetic appeal. Unlike traditional wood decks that require frequent painting, sealing, and replacement, composite decks offer a more sustainable and long-lasting solution. This guide will walk you through the process of installing composite decking squares on your own, covering everything from preparation to finishing touches.
The first step in any successful project is thorough preparation. Begin by selecting a level area for your deck. Use a transit level or laser level to ensure the ground is perfectly flat. If necessary, remove any grass, dirt, or debris. Next, lay down landscape fabric to prevent weeds from growing through your deck over time. Secure the fabric with landscaping staples every two feet. It’s also important to check local building codes and obtain any necessary permits before starting the installation process. You can find detailed information about building codes and permits on websites like National Association of Certified Home Inspectors (NACHI).
The foundation of your composite deck is crucial for stability and longevity. Start by setting up concrete footings at least 18 inches deep and spaced every four feet along the perimeter of your deck. These footings will support the posts that hold up the deck frame. Once the footings are in place, install pressure-treated lumber beams and joists to create a sturdy framework. Ensure that the beams are level and properly spaced according to the manufacturer’s specifications for the composite decking squares. For more detailed instructions on setting up the foundation, refer to the Family Handyman guide.
With the foundation laid, it’s time to start attaching the composite decking squares. Begin by cutting the squares to fit your deck dimensions using a circular saw or miter saw. Lay out the first row of squares along one edge of the deck, ensuring they are tightly aligned. Use hidden fasteners or composite deck screws to attach each square to the underlying frame. Hidden fasteners are ideal as they provide a clean, seamless look without visible screw heads. As you work your way across the deck, stagger the joints between rows for added strength and aesthetics. Refer to the installation manual provided by the manufacturer for specific guidance on attaching the squares.
Once all the composite decking squares are securely attached, it’s time to add the finishing touches. Trim excess material around the edges using a jigsaw or coping saw. Install railing systems if desired, following the same principles of level alignment and secure attachment. Finally, apply a sealant or finish to protect the deck from weather elements and enhance its appearance. Regular cleaning and occasional reapplication of the sealant will help maintain the deck’s beauty and functionality over time.
How to Build a Deck – Family Handyman
Building Code Checklist – National Association of Certified Home Inspectors (NACHI)
