Our Location
304 North Cardinal St.
Dorchester Center, MA 02124
304 North Cardinal St.
Dorchester Center, MA 02124

Step-by-step instructions on installing grey composite decking posts yourself. Learn about necessary tools, preparation, and installation techniques to ensure a successful project.
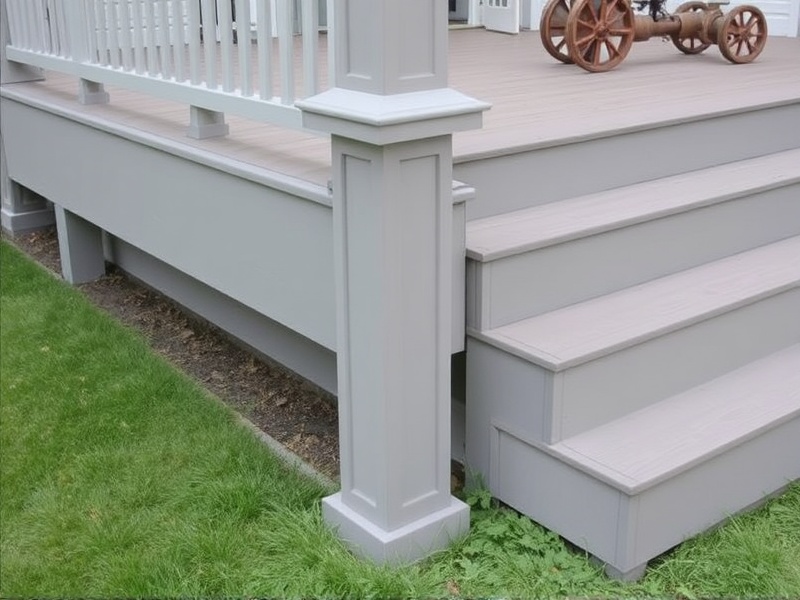
Grey composite decking posts are a popular choice for homeowners looking to add a touch of elegance and durability to their outdoor spaces. These posts are not only resistant to weather elements but also require minimal maintenance. This DIY guide will walk you through the process of installing grey composite decking posts, providing you with detailed steps, necessary tools, safety precautions, and expert tips to achieve professional results without professional assistance.
To install grey composite decking posts, you will need the following tools and materials:
Before starting, measure the area where you plan to install the grey composite decking posts. Ensure that the ground is level and free from debris. Use a measuring tape to mark out the positions for your posts, keeping in mind the spacing required for the decking boards.
Dig holes for each post at least 2 feet deep and wide enough to accommodate the post anchor. Make sure the holes are perpendicular to the ground using a level. The depth of the hole should be sufficient to provide stability and prevent the posts from shifting over time.
Place the post anchors into the holes. Ensure they are level and aligned properly. Use a level to check that the anchor is perfectly horizontal. Fill the bottom of the hole with a few inches of gravel for drainage, then position the post anchor on top.
Once the post anchors are set, pour concrete into the holes up to about six inches below ground level. Use a shovel to fill the holes and tamp down the concrete with a tamper to remove air pockets. Allow the concrete to cure for at least 24 hours before proceeding.
After the concrete has cured, attach the composite decking posts to the anchors using screws or bolts. Ensure that the posts are straight and aligned correctly. Use a level to verify that the posts are vertical.
Install grey composite decking boards onto the posts, securing them with screws. Trim any excess material and sand down rough edges for a smooth finish. Clean the deck thoroughly once all work is completed.
Always wear gloves and safety glasses when handling tools and materials. Ensure that the ground is stable and secure before digging holes. Use caution when pouring concrete and allow it to set properly before placing weight on the posts.
