Our Location
304 North Cardinal St.
Dorchester Center, MA 02124
304 North Cardinal St.
Dorchester Center, MA 02124

Follow a step-by-step guide on constructing your own picnic table using composite decking materials, perfect for backyard gatherings or public parks.
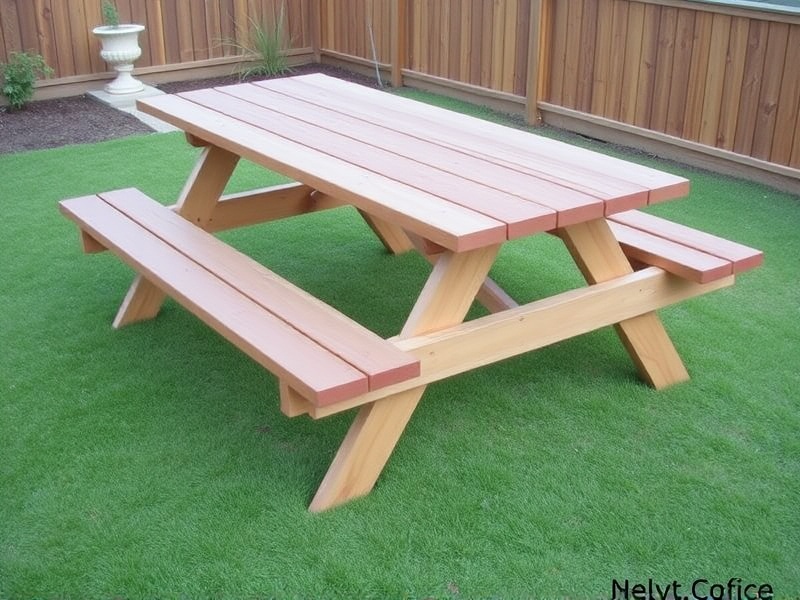
Building your own picnic table can be an enjoyable project that not only enhances your outdoor space but also allows you to customize it according to your preferences. Using composite decking material for your picnic table is an excellent choice due to its durability, low maintenance, and aesthetic appeal. This guide will walk you through the process of building a sturdy and attractive picnic table using composite decking, providing you with all the necessary information and tips to ensure success.
To start building your composite decking picnic table, gather the following materials:
The tools you’ll need include:
Before beginning, sketch out your design and measure the dimensions of your desired picnic table. Ensure you have enough space for seating and that the table height is comfortable for dining. A standard height is around 30 inches from the ground to the top of the table.
Start by cutting the lumber to size for the table frame. The legs should be approximately 29 inches tall, and the crossbeams should be cut to fit snugly between them. Use weatherproof wood glue and screws to assemble the frame securely. Ensure everything is level and square before moving forward.
Cut the composite decking boards to length, ensuring they overhang slightly at the edges for aesthetics. Attach these boards to the frame using screws, making sure they are evenly spaced and flush with the surface. Pay attention to the grain direction for a uniform look.
Once the main structure is complete, sand down any rough edges and apply a sealant to protect the composite material from weather elements. If you plan to mount the table permanently, dig holes for the legs and fill them with concrete for stability.
Building a composite decking picnic table is a rewarding DIY project that can enhance your outdoor living space. By following this guide, you can create a durable, low-maintenance, and visually appealing table that will provide years of enjoyment. Remember to take your time, measure twice, and enjoy the process!
