Our Location
304 North Cardinal St.
Dorchester Center, MA 02124
304 North Cardinal St.
Dorchester Center, MA 02124

Follow this step-by-step guide to install 18 wide composite decking on your own. Get practical advice on tools needed, measurements, and techniques for a successful project.
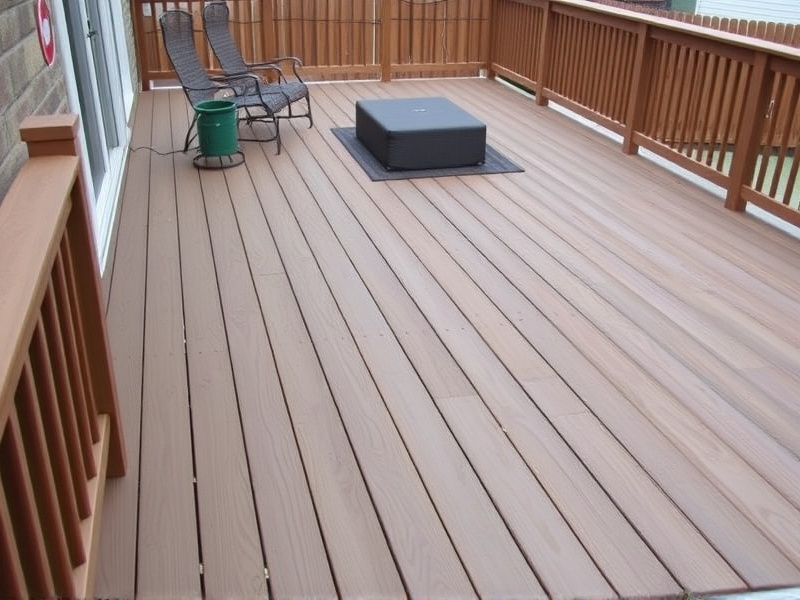
Composite decking has become increasingly popular due to its durability, low maintenance, and aesthetic appeal. One of the most common sizes for composite decking is 18 inches wide, which provides a balance between ease of installation and coverage area. This DIY guide will walk you through the process of installing 18 wide composite decking yourself, ensuring a professional-looking result.
The first step in any DIY project is thorough planning. Begin by measuring the area where you want to install your composite deck. Ensure that the space is level and clear of any debris or obstructions. Consider the design and layout of your deck, including the location of stairs, railings, and any built-in seating. Planning ahead will help you avoid costly mistakes and ensure a smooth installation process.
Before you start cutting and assembling your composite decking, make sure you have all the necessary tools. These include a circular saw, drill, impact driver, screwdriver, measuring tape, level, and safety gear such as gloves and eye protection. Additionally, consider investing in specialized tools designed for working with composite materials, such as a composite deck board cutter and a countersink bit. Proper tool preparation is crucial for achieving clean cuts and secure installations.
Accurate measurements are key to a successful composite deck installation. Measure the width and length of the deck area, taking into account any irregularities or obstacles. Use a chalk line to mark the ground where the deck frame will be installed. Double-check all measurements to ensure that the deck will fit properly within the designated space. Precision in measurement will help you avoid gaps, overlaps, and other installation errors.
Start by constructing the deck frame using pressure-treated lumber, ensuring that it is level and square. Once the frame is in place, begin installing the composite decking boards. Lay out the boards in a straight line, starting from one end of the deck and working your way across. Use screws specifically designed for composite materials to attach the boards to the frame, spacing them evenly apart. For the best results, stagger the joints between boards to create a more natural look. Finally, install the finishing touches, such as trim boards and railings, to complete the deck.
Installing an 18 wide composite deck can be a rewarding DIY project when done correctly. By following these steps and tips, you can achieve a professional-looking result that enhances your outdoor living space. Remember to plan carefully, prepare your tools, take accurate measurements, and use proper assembly techniques. With patience and attention to detail, you can create a beautiful composite deck that will last for years to come.
