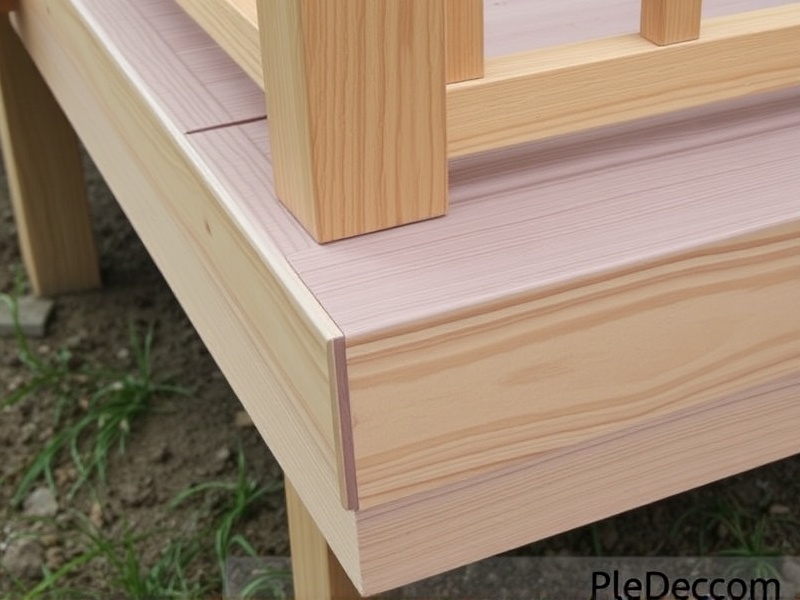
DIY Deck Edge Trim Installation Tips
Introduction to Deck Edge Trim Installation
Deck edge trim is an essential component in enhancing the appearance of your outdoor living space. It not only adds aesthetic value but also protects the edges of your deck from wear and tear, thereby extending its lifespan. This guide aims to provide you with a comprehensive overview of how to install deck edge trim yourself, ensuring that you can achieve professional results without breaking the bank. Let’s dive into the necessary tools, safety precautions, and installation techniques.
Necessary Tools for Installing Deck Edge Trim
To ensure a smooth installation process, you’ll need the following tools:
- A circular saw or miter saw for precise cutting
- A drill with appropriate bits for attaching the trim
- Screws suitable for outdoor use (stainless steel or treated lumber screws)
- A level to ensure straight lines
- A measuring tape for accurate measurements
- Gloves and safety glasses for protection
Having these tools ready will streamline your project and help you avoid common mistakes.
Safety Precautions During Installation
Safety should always be your top priority when undertaking any DIY project. Here are some crucial safety tips to keep in mind:
- Wear protective gear such as gloves and safety glasses to prevent injuries.
- Ensure the area where you’re working is clear of any tripping hazards.
- Use a ladder safely, ensuring it is placed on stable ground and securely against the structure.
- Be cautious when handling power tools and follow all manufacturer instructions.
By adhering to these guidelines, you can minimize risks and focus on creating a beautiful deck edge trim.
Installation Techniques for Deck Edge Trim
The actual installation process involves several steps. Follow this step-by-step guide to ensure a successful outcome:
- Measure and Cut: Measure the length of each side of your deck where the trim will be installed. Use your saw to cut the trim pieces to fit these lengths. Ensure cuts are straight and clean.
- Positioning: Position the first piece of trim at one corner of your deck, aligning it with the outer edge. Use a level to ensure it is perfectly horizontal or vertical.
- Securing: Drill pilot holes through the trim into the deck boards underneath. Insert screws through these holes to secure the trim firmly in place. Space screws about every foot along the trim.
- Cutting Corners: For corners, measure and cut the trim pieces accurately using a miter saw. Fit them together snugly, securing with screws.
- Finishing Touches: Once all trim pieces are in place, inspect for any gaps or uneven areas. Fill gaps with caulk if necessary, and touch up with paint or stain to match your deck.
Following these techniques will result in a professional-looking finish that enhances your deck’s aesthetics.
Reference Materials
For further reading and detailed instructions, consider checking out the following resources:
These guides offer additional insights and tips that can be beneficial during your project.
