Our Location
304 North Cardinal St.
Dorchester Center, MA 02124
304 North Cardinal St.
Dorchester Center, MA 02124

Learn about frequent errors made during the installation of grooved composite decking and practical solutions to ensure a successful project.
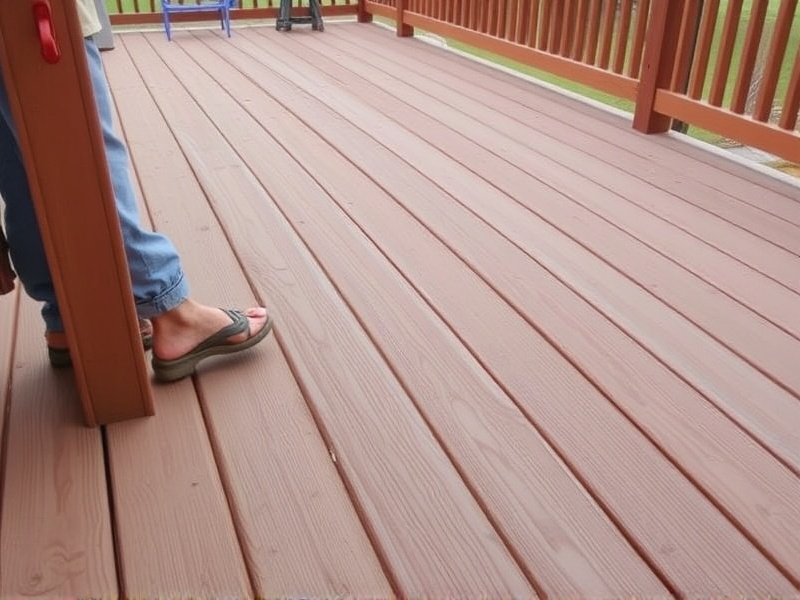
Grooved composite decking is a popular choice for many homeowners due to its durability, low maintenance, and attractive appearance. However, like any construction project, proper installation is key to ensuring that your deck lasts for years to come. This article will detail common pitfalls encountered during the installation of grooved composite decking, such as improper measurements, incorrect tool usage, and poor alignment, along with expert advice on how to avoid these issues.
One of the most common mistakes made during the installation of grooved composite decking is taking inaccurate or incomplete measurements. Failing to measure accurately can lead to gaps between boards, misaligned edges, and uneven surfaces. To avoid this issue, it’s essential to take precise measurements at multiple points across the deck surface. Additionally, always account for the expansion gap required by manufacturers to prevent warping due to temperature changes. A good rule of thumb is to add an extra 1/8 inch per board for every 16 feet of length to allow for thermal expansion.
Using the wrong tools or using them incorrectly can significantly impact the quality of your grooved composite decking installation. For example, using a standard drill bit instead of a spade bit when creating pilot holes can damage the composite material, leading to cracks and splits. Similarly, using screws that are too long can cause the deck boards to split or warp over time. Always refer to the manufacturer’s guidelines for recommended tools and techniques, and invest in high-quality tools designed specifically for working with composite materials.
Misalignment of grooved composite decking boards can detract from the overall aesthetic appeal of your deck. This often happens due to not properly leveling the substructure or failing to use spacers to maintain consistent spacing between boards. To ensure perfect alignment, start by laying out all the boards before attaching them to get a sense of how they will fit together. Use a level to check that each row is straight and even. Spacers should be placed between each board to maintain the correct gap size, which helps with water drainage and reduces the risk of mold and mildew growth.
To minimize errors during the installation process, consider consulting with a professional installer if you’re unsure about any step. Many manufacturers offer detailed installation guides and videos online, which can serve as invaluable resources. Additionally, joining forums and communities dedicated to home improvement can provide access to first-hand experiences and tips from other DIY enthusiasts.
