Our Location
304 North Cardinal St.
Dorchester Center, MA 02124
304 North Cardinal St.
Dorchester Center, MA 02124

Get a comprehensive guide on how to install black WPC decking yourself. This article will cover all the essential steps from preparation to finishing touches.
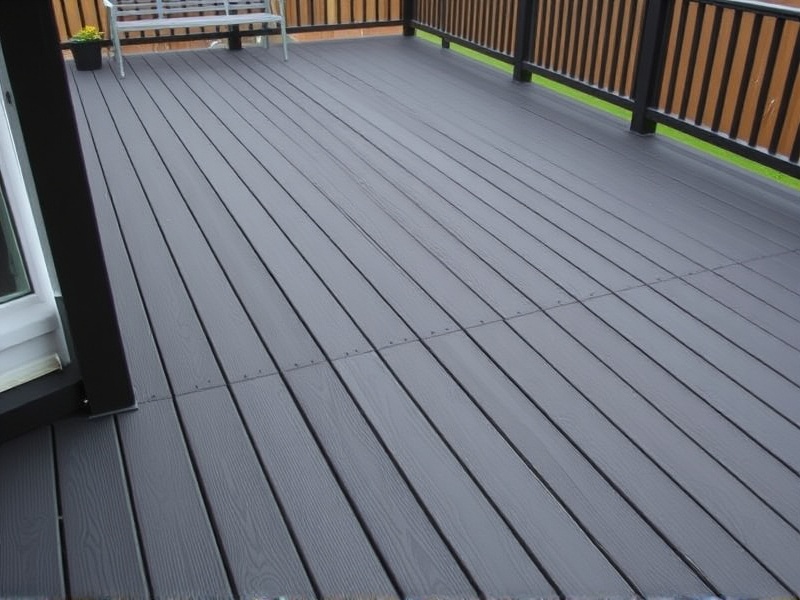
Black Wood-Plastic Composite (WPC) decking is a popular choice for outdoor spaces due to its durability, low maintenance, and sleek appearance. This guide will walk you through the process of installing a black WPC deck, from gathering the necessary tools to achieving a professional finish.
To install your black WPC decking, you’ll need a variety of tools and materials. Here’s a comprehensive list:
Before beginning any construction work, it’s crucial to take safety measures seriously. Always wear appropriate protective gear such as gloves, goggles, and sturdy footwear. Ensure that all power tools are in good working condition and use them according to the manufacturer’s guidelines. Work with a partner when lifting heavy materials, and keep the work area clean and free of tripping hazards.
The first step involves clearing the area where the deck will be built. Remove any grass, plants, or debris. Use stakes and string lines to mark out the perimeter of the deck and ensure it aligns with your design plans. Level the ground using a tamper or roller.
Construct the deck frame by digging post holes at each corner and along the edges, about 2 feet deep. Place concrete footings into the holes and set the posts. Attach beams and joists to create a sturdy framework. Make sure everything is level and securely fastened.
Start laying the black WPC decking boards, starting from one end of the deck. Leave a small gap between boards for expansion. Secure the boards with screws, making sure they are evenly spaced and flush with the frame. For a more professional look, stagger the joints so they do not line up across rows.
After installing the main boards, add trim pieces around the edges to cover gaps and give the deck a finished look. Seal the deck with a UV-resistant sealant to protect it from weather elements and enhance its longevity. Regular maintenance will help keep your deck looking great year-round.
To achieve a professional-looking black WPC deck, consider these additional tips:
