Our Location
304 North Cardinal St.
Dorchester Center, MA 02124
304 North Cardinal St.
Dorchester Center, MA 02124

Learn the essential techniques and tools for attaching composite decking with this comprehensive guide. Perfect for DIY enthusiasts looking to enhance their outdoor spaces.
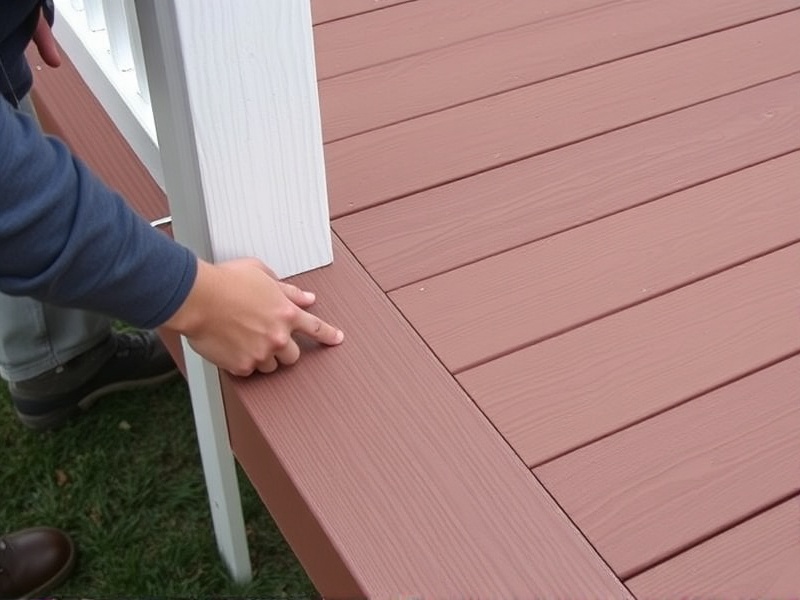
Composite decking has become increasingly popular in recent years due to its durability, low maintenance, and aesthetic appeal. Unlike traditional wooden decks, composite decking is made from a mixture of wood fibers and recycled plastic, making it resistant to moisture, insects, and rot. This guide will walk you through the process of attaching composite decking, ensuring a professional and long-lasting installation.
To successfully attach composite decking, you’ll need the following tools and materials:
Before starting your project, ensure that you follow these safety precautions:
Begin by planning your deck layout and ensuring that the area is level. Use a square and measuring tape to mark the positions where joists will be installed. Ensure that the ground is clear of any debris or obstacles.
Install the joists according to your plan, securing them with joist hangers. Make sure they are level and properly spaced to support the composite decking boards.
Cut the composite decking boards to the required lengths using a circular saw or handsaw. Be sure to use a blade specifically designed for cutting composite materials to avoid damaging the boards.
Start laying the composite decking boards, beginning at one end of the deck. Secure each board with screws, spacing them about 1/8 inch apart to allow for expansion. Use a screw gun or drill to drive the screws into the joists below, ensuring they are flush with the surface of the board.
Once all boards are attached, trim any excess material and clean up the work area. Apply a sealant if desired to enhance the longevity and appearance of your composite deck.
To ensure your composite deck remains beautiful and functional for years to come, consider the following tips:
